The recently released Linux Mint 20 Ulyana now includes a useful file sharing tool: Warpinator. It makes transferring files easy between PCs in a LAN without setting up network shares or using a removable drive.
For Warpinator to work, the following requirements should be available:
- PCs should have Warpinator installed and running on them.
- They should be online, on the same local network and have the same Group Code.
Here is how to use Warpinator to transfer files between different PCs running Linux Mint 20:
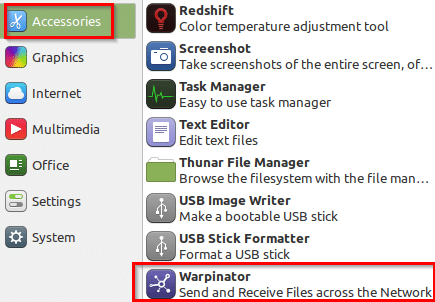
Open Warpinator on the PCs that are required for sending and receiving files. (For Linux Mint Xfce edition which this example uses, it is available in the Accessories menu).
Once opened, PCs with Warpinator running will be auto-detected and displayed. The main window will show the names and local IP addresses of remote PCs.
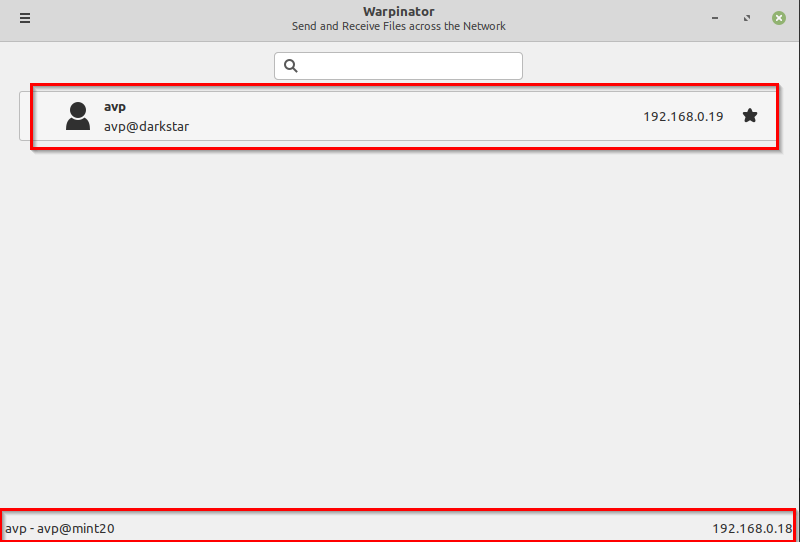
The details of the local PC will be listed at the bottom.
Sending files using Warpinator:
Now, to send any file, click on the name of the remote PC. This will open a file transfer window.
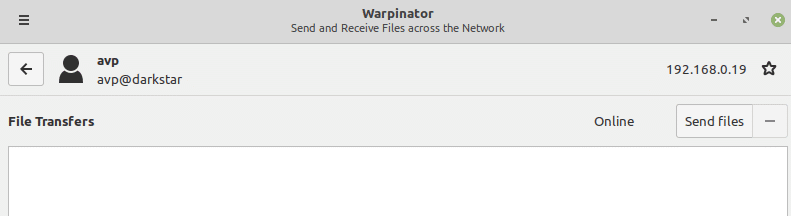
Click on Send Files and browse for the ones that are to be sent.

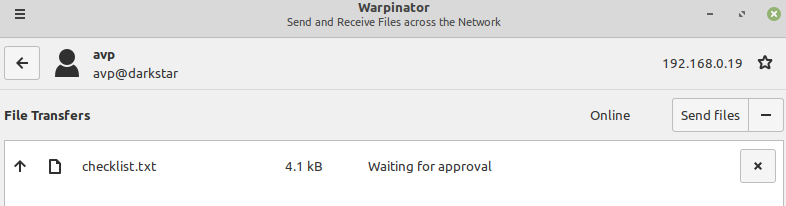
By default, all file transfers will require an approval to accept at the remote end. Till approved, the file status on the sending PC will be displayed as Waiting for approval.
Receiving files using Warpinator:
The receiving PC will show an incoming file request prompt and the PC which is sending these files will be highlighted in green.
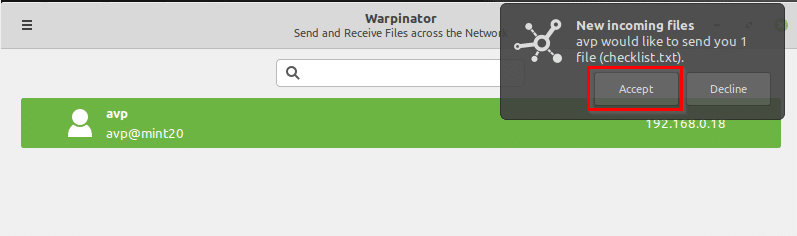
Click on Accept to receive the files.

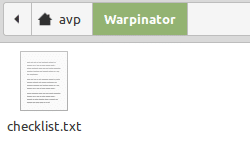
Once finished, by default the files will be stored in a folder named Warpinator in the home directory.
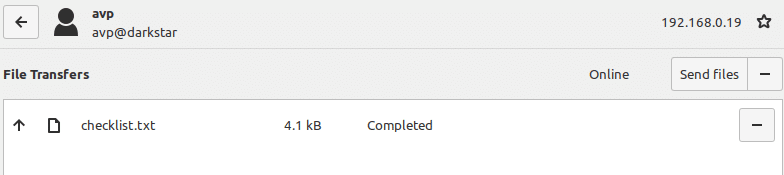
You can also view the status of sent and received files on both the sending and receiving PCs running Warpinator.
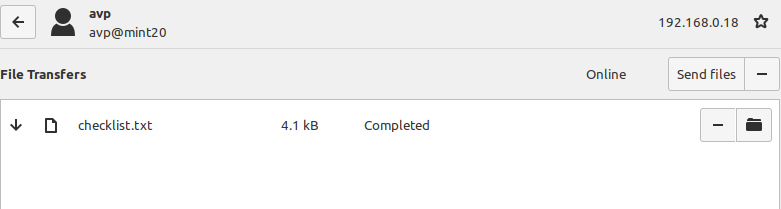
Received files will be marked with the down arrow and sent files with the up arrow next to them.
Changing Warpinator settings:
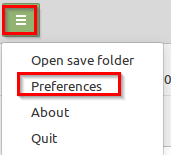
To change the various settings, click on the top-left rectangle icon from the Warpinator window and choose Preferences.
From here, you can set a different folder path for storing received files, enable or disable the approvals for transfer requests, and so on.
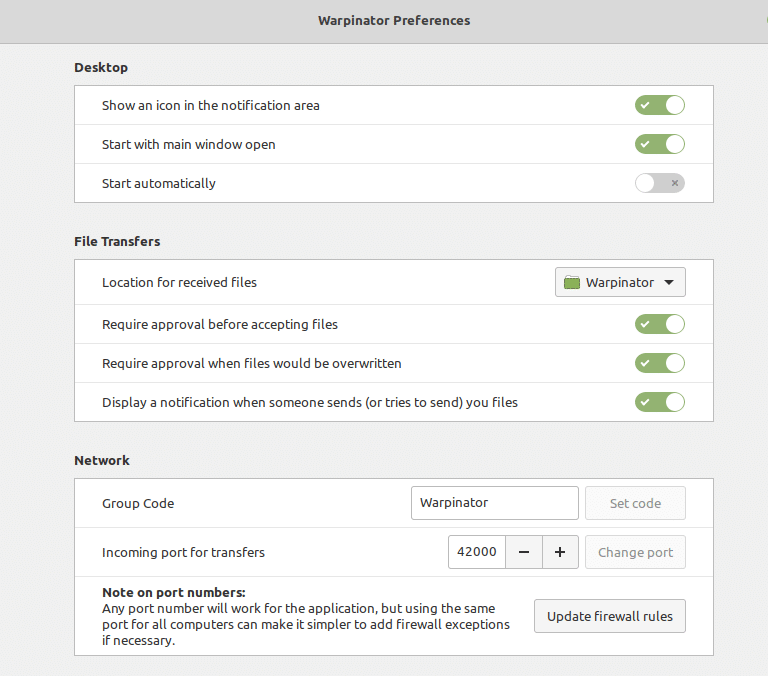
A particularly important setting here is the Network section.
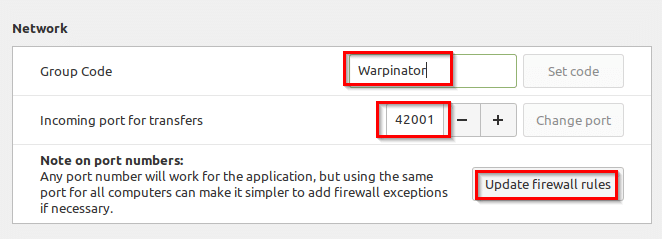
For Warpinator to work correctly, all the PCs should have the same Group Code. You can change the default Group Code from here and it needs to be the same on every PC using it.
Also, if you have a firewall enabled, make sure that it isn’t denying any inbound/outbound requests. Incoming port number (default being 42000) for Warpinator too can be changed from the Network section and you can change it to any number although it is easier to use the same one across PCs. Click on Update firewall rules for the port number if it is changed. The default settings are fine though.
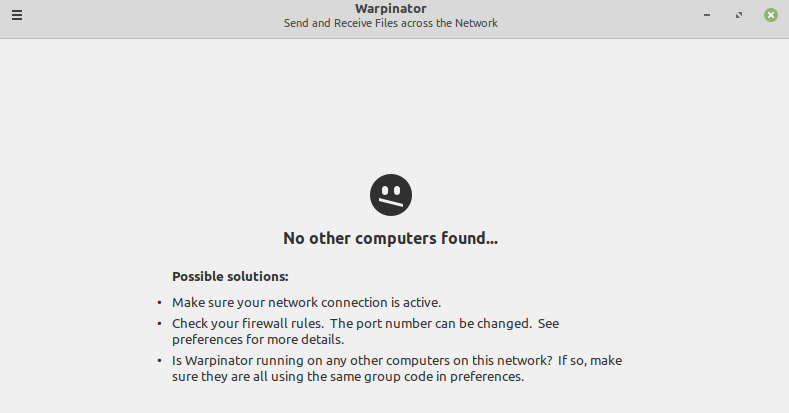
If there is a Group Code mismatch or a firewall rule preventing inbound/outbound requests from the PCs, Warpinator will show an error message and list some troubleshooting steps to fix it. (This message is also displayed if currently there are no other PCs with Warpinator running).
This is a useful tool that comes with Linux Mint 20 which makes sharing easier across PCs in a local network.
Happy sharing.
thanks
i use it,
great