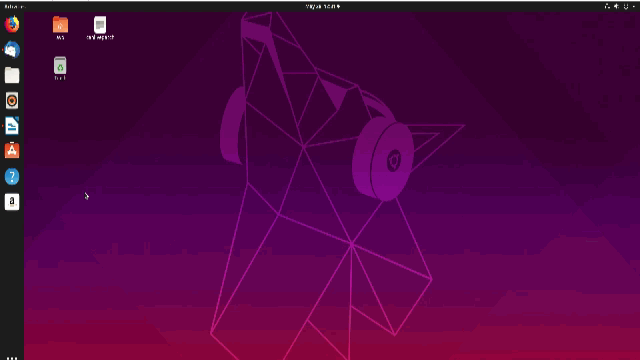
Having multiple workspaces can be easier to manage as you can reduce clutter when working. (To add workspaces when using Linux Mint 19, here is an earlier article that explains it).
Adding workspaces in Ubuntu 19.04:
Here is how to add multiple workspaces in Ubuntu 19.04:
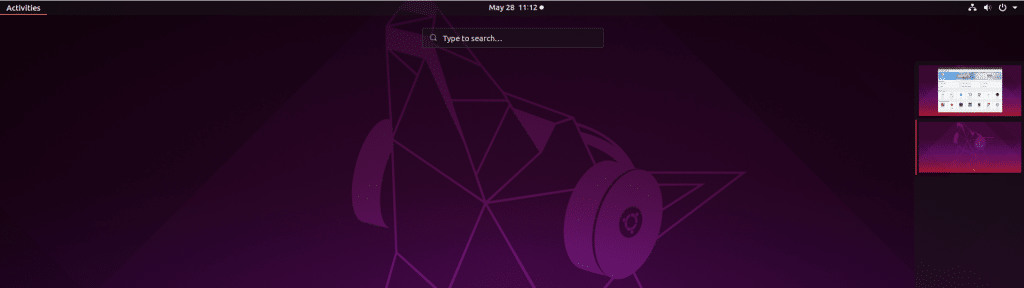
Click on Activities tab. This will bring up a vertical sidebar on the right. That is the workspace selector.
To add a new workspace, simply drag drop new applications or open windows from the current workspace on top of the workspace selector.
A dot icon will pop up indicating that a new workspace will be added. The new workspace will now be visible.
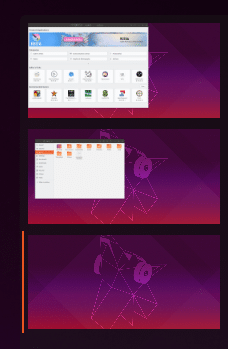
You can add multiple workspaces by dragging and dropping windows and applications over the existing workspace windows. Also, the orange strip next to the workspace selector window indicates the currently active workspace.
Changing The Dock Position:
To change the default dock position that is set as left sidebar :
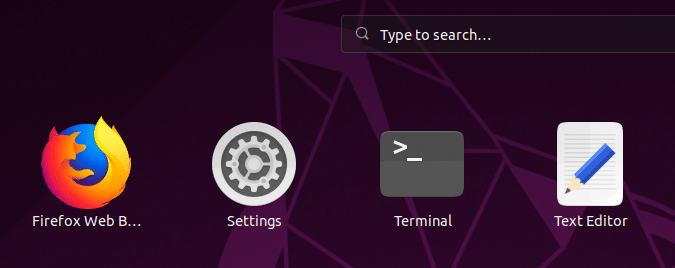
Access Settings either by searching from Ubuntu Dash or using keyboard shortcuts if any.

Alternatively, you can also click on the power icon on top right corner and click the gear icon.

Choose Dock and from the drop-down menu for Position on screen, change it to either bottom or right as needed.
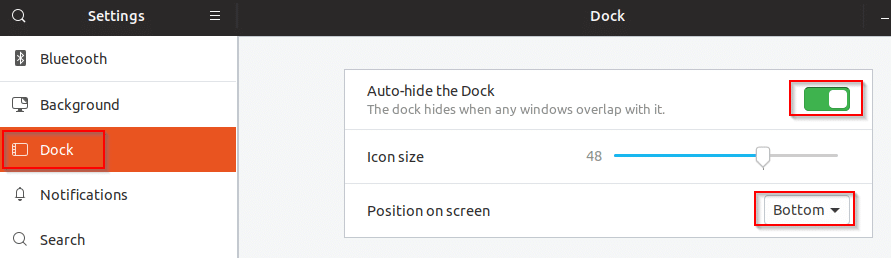
You can also automatically hide the dock when any open window overlaps it to maximize screen space. Enable Auto-hide the Dock option for that if needed.

These dock changes will be visible immediately in all the existing workspaces.
All done.