Metered connections in Windows 10 is useful in managing data usage.
Here is how to set metered Wi-Fi connections in Windows 10:
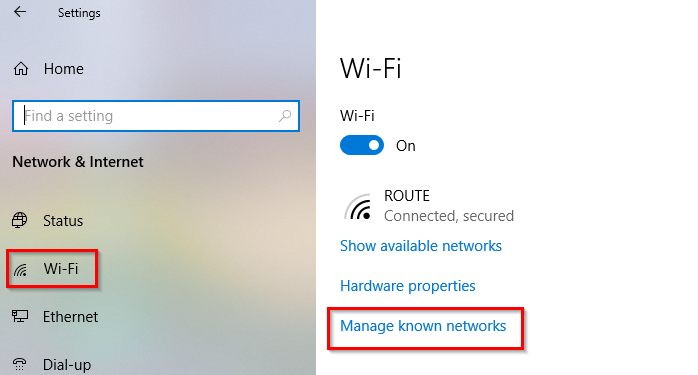
Access Windows Settings (shortcut keys: Windows key + I) and choose Network & Internet.

Next, click on Wi-Fi and select the network connection (if there are more than one) to be set as metered by choosing Manage known networks.
Choose the specific Wi-Fi connection and click Properties.

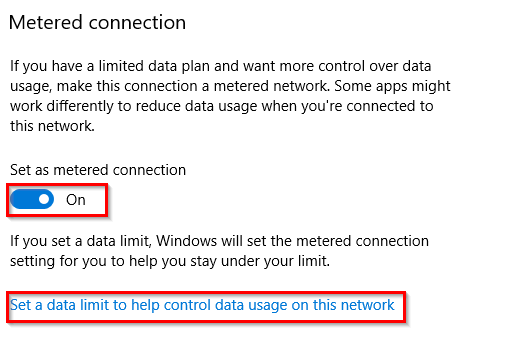
Then, enable the option of Set as metered connection. It is also useful to assign it a data limit by choosing Set a data limit.
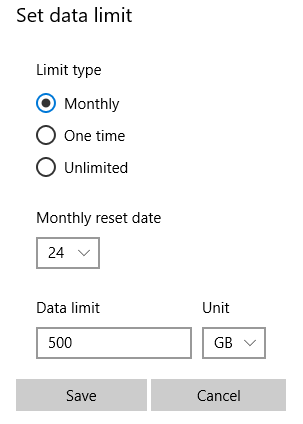
Set the usage limit for it depending on whether that it is Monthly, One Time or Unlimited, then choose the amount of data to be used, the reset date and click Save.
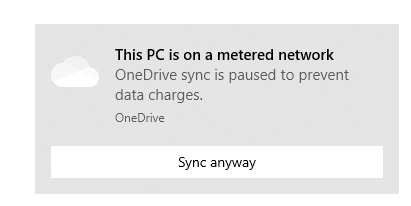
Once the Wi-Fi connection is set as metered, Windows 10 will notify you before certain activities that can consume a lot of data like syncing with OneDrive and so on.
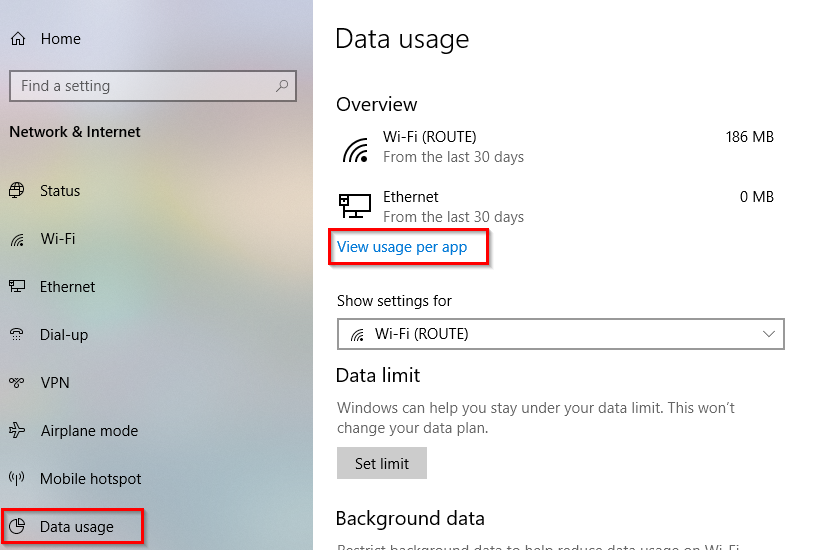
You can also view the per app usage for this connection and know what is consuming the most data from the Data usage section by clicking on View usage per app.
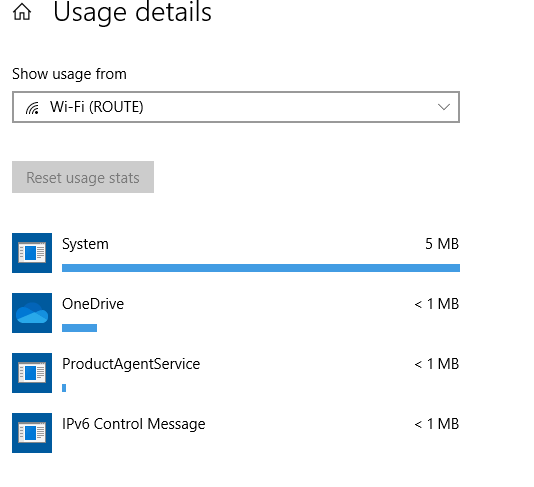
This shows the data consumption per app for the chosen network connection.
You can also choose to limit background data for the metered connection from here by enabling it to Always.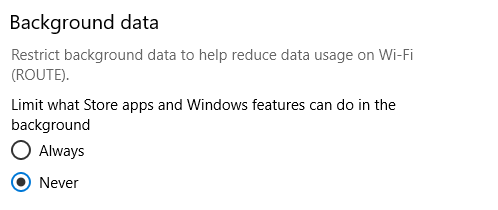
All done.