Firefox includes a useful screenshot tool that can take screen captures of web pages.
To use it, go to the webpage for which a screenshot needs to be taken and right-click anywhere. Then choose Take Screenshot.
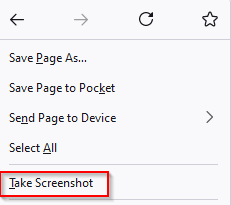
This will bring up the screenshot tool. There are three options to take a screenshot:
- Selected region
- Full Page
- Visible area
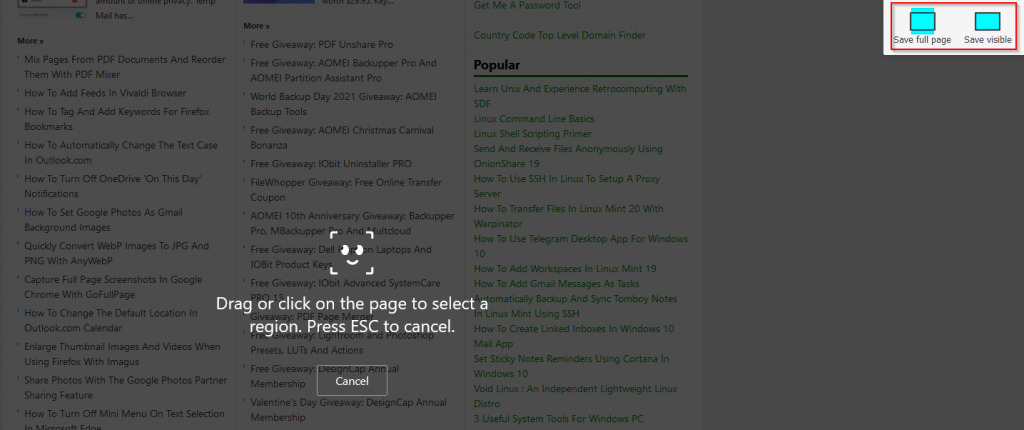
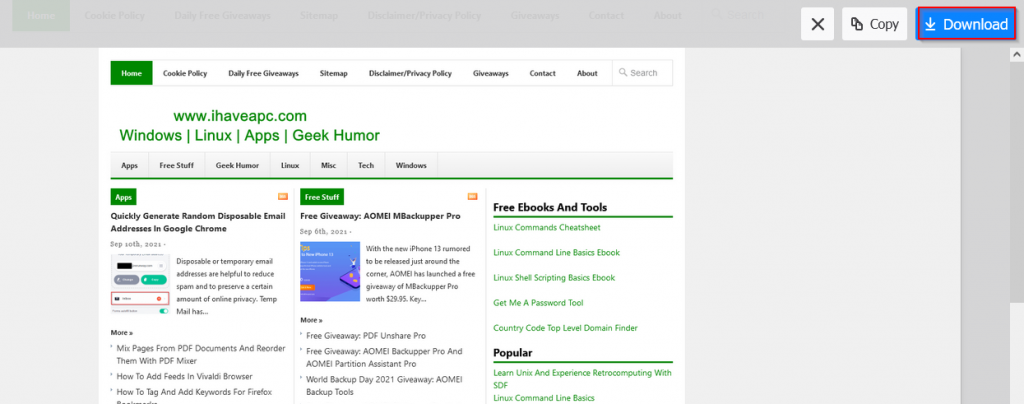
Selected region: To take a screenshot of an area of the webpage, drag and select it.
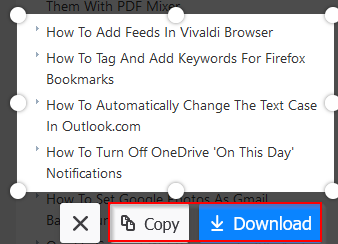
The region will be highlighted with the options of Copy and Download next to it.
Clicking on the Copy button will copy the screenshot to the clipboard. It is useful if you would directly want to insert it into documents. The Download button will save the selected screenshot in the default Downloads folder for Firefox.
Full Page: On choosing the Save full page option, the screenshot will be of the entire page.
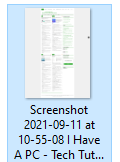
It can then be copied to the clipboard or downloaded.
Visible area: Choosing the Save visible option will only take a screenshot of the visible webpage area. Just as with the other modes, screenshots can be copied or saved locally.
This Firefox screenshot tool does not include other features like annotations, delayed capture, and more, it still is a quick way to take basic screenshots which can be edited later.
There are Firefox add-ons though like Nimbus that also include editing screenshots, but this default tool is still handy for taking quick screenshots.
All done.