Uninstalling apps from Windows 10 includes sort and search filters through which you can first list the installed apps based on different criteria before removing them. These criteria include the size of the apps and where and when they are installed.
Here is how to use these filters:
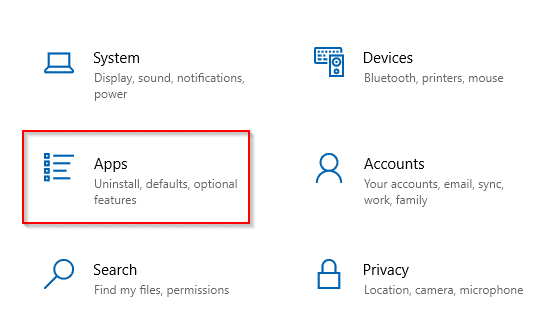
Open Windows settings (Win key + I) and choose Apps.
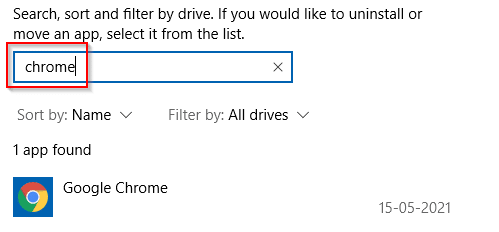
It will show a list of all the installed apps. You can look for a specific one to uninstall by typing in the search box.
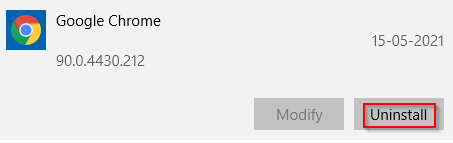
Click on the app name and choose Uninstall to remove it. Some apps can also be moved if that option is visible.
To use the other filters, click on the Name drop-down menu.
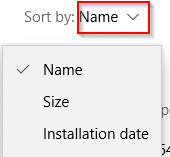
The default list is alphabetical. You can then change it to show the apps based on their size by choosing the Size option.
To see the apps based on their date of installation, choose Installation date.
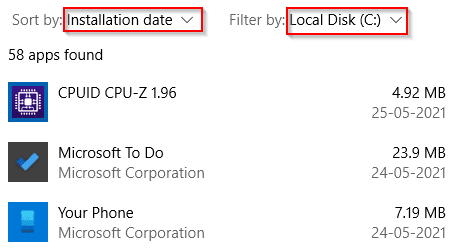
Also, another useful feature is to only look for apps on specific disk partitions and different drives. Click on the drive letter next to Filter by to show the drop-down menu.
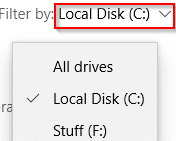
The default filter shows apps installed on the system partition but you can change it to all the drives or cycle through any different partitions if any.
To get a more breakdown usage of disk space and the space occupied by different programs, a free tool like WizTree can be useful too.
All done.