Data can be lost, accidentally deleted or be corrupted for a variety of reasons including malware,
UltData Windows Recovery from Tenorshare is a simple to use tool that makes it easy to get back lost data in Windows.
Key Features:
- Click and point usage to scan and recover lost data
- Supports external storage devices, memory cards and hard drives
- High recovery rate
- Recovers various file types like images, documents, emails, and more
Download and install it from here. The trial version is limited to previewing data that can be recovered while the commercial version has no restrictions and can be purchased from here.
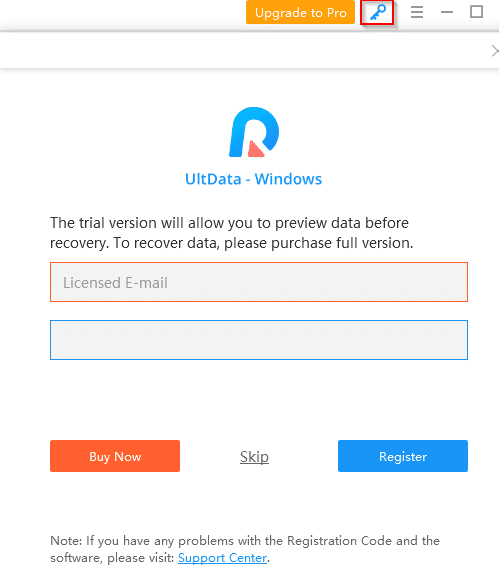
If you already have a license key, click on the key icon and enter the registration details (email and the license) to activate the full version.
Using UltData Windows Data Recovery basically has just 3 steps to it :
- Select : Select the source path which had the lost data
- Scan and preview : Scan and select data to be recovered
- Recover : Get back lost data
Let’s take a look at each of these steps.
The main interface of UltData will show various disk drives, partitions and removable devices (if any) from which data needs to be recovered.
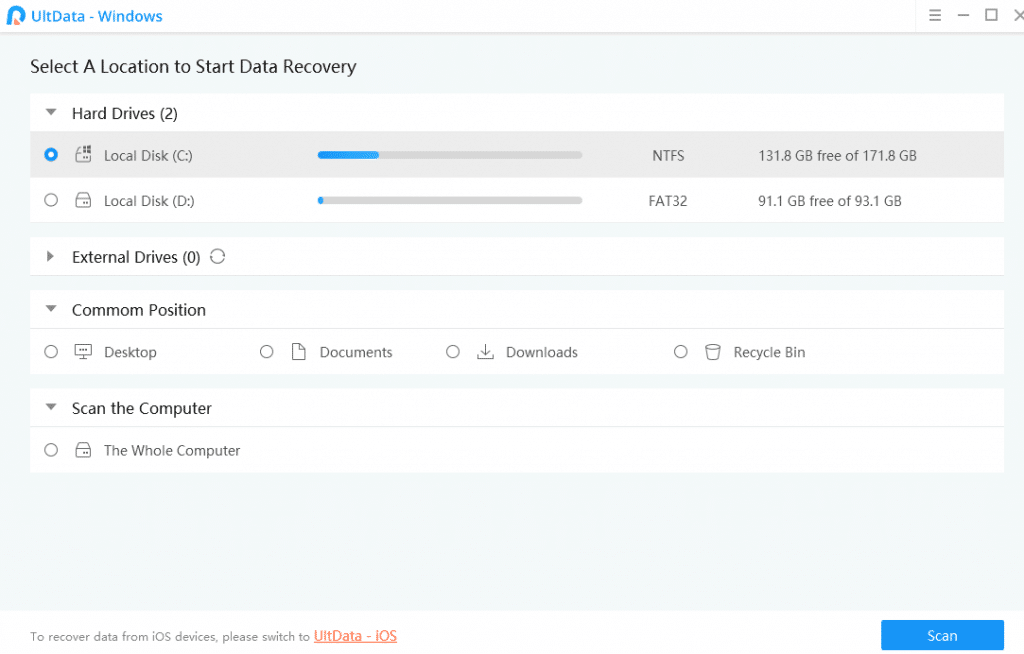
The interface language can also be changed if needed.

Also available is a Common Position which basically includes common Windows locations like Desktop, Documents, Downloads and Recycle Bin.
So if you have deleted files from any of these locations, it is not necessary to scan the entire drive or partition. Choose from here to significantly reduce scanning time.
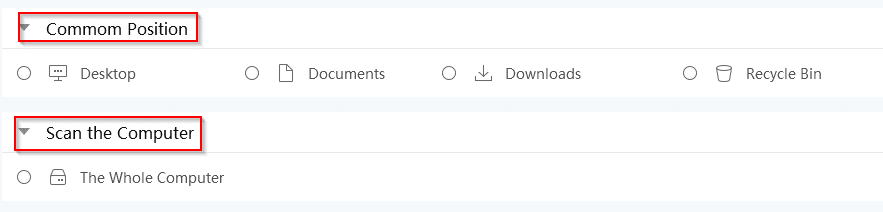
Also if you’d want to scan all the drives and partitions, an option of scanning the entire computer too is available.
Select : Once the source drive/partition from where the lost data is to be recovered is selected, click Scan.
Scan and preview : The scan will take a while depending on the disk/partition size. The scan can also be paused or stopped if needed.
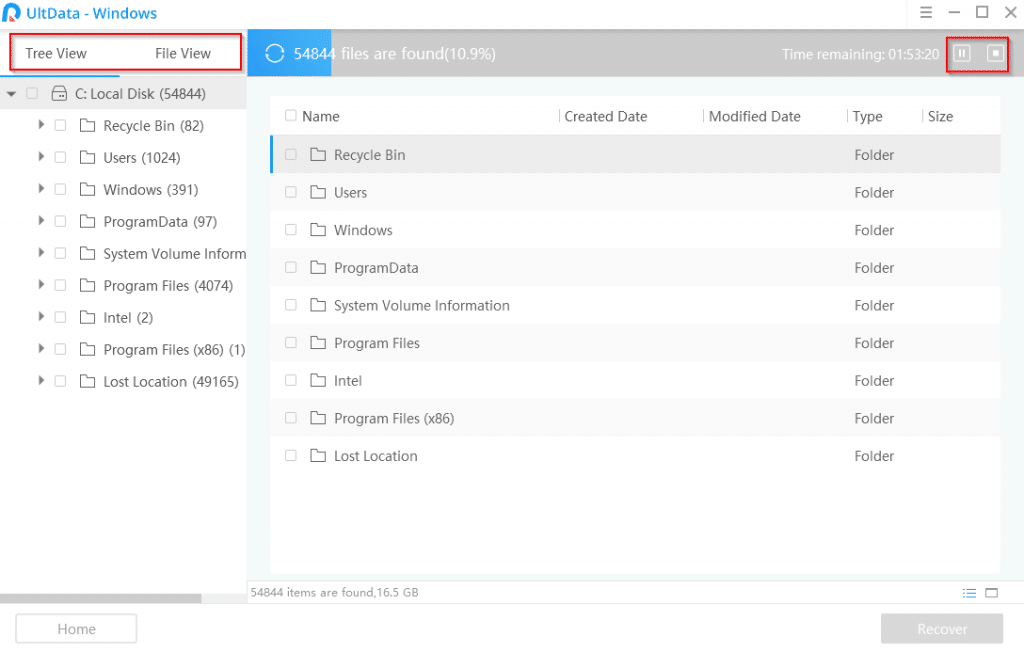
UltData by default lists files that can be recovered as a Tree View which means it will display them as per the path at which they are found.
For a more easier option like looking for a specific file type, change the view to File View.
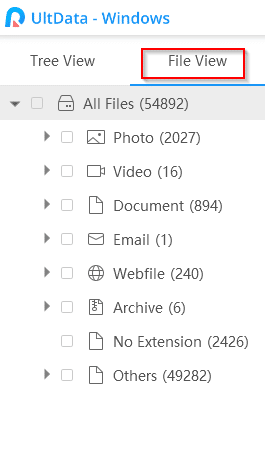
You can then choose from the file category to look for specific files that need to be recovered. Wait for the scan to finish.
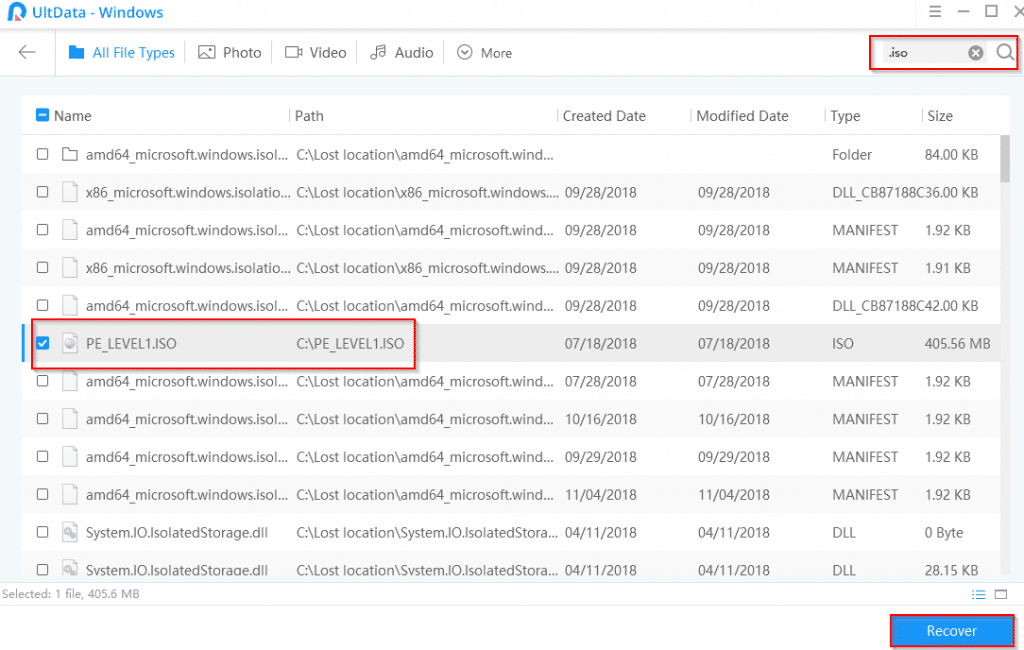
Recover : Once the scan is complete, select the lost files to be recovered by selecting them. There is also a search function available, so no need to scroll and look for specific files if you know the extension or file name.
Simply type the necessary file extension and the scan results will filter out the necessary files.
For audio/video files, the preview pane on right can be useful in knowing which of these need to be recovered. The previews are generated automatically when the files are selected.
Click Recover. Choose a destination path where the lost data will be recovered to.
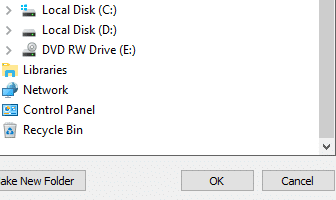
It is recommended to keep the destination path on a different drive or partition than the source.
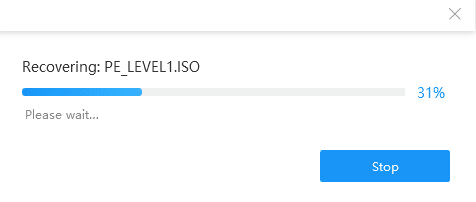
The recovery process will begin and depending on the number of files and total data size, it can take some time.
Once it is finish, UltData will display a notification about it.
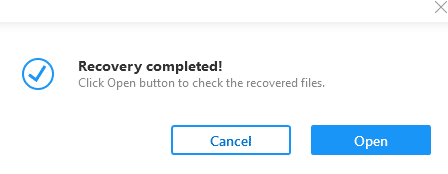
Click Open to directly open the destination path where the lost files are available after recovery.
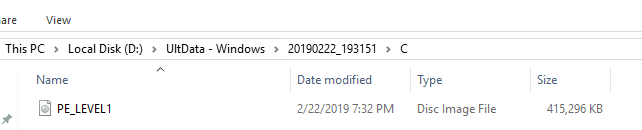
All done.