Safeguarding precious data on Macs is always useful but often it can be deleted due to many reasons. The most common reasons include accidental deletion, hard drive/computer failure, malware infection and so on.
Recovering such data can be laborious and expensive if professional third party assistance is sought. However, this entire process can be made easier by using a simple yet powerful data recovery tool like EaseUS Data Recovery Wizard For Mac Free.
As the name suggests, it is a free to use tool for mac data recovery and has a simple wizard like interface.
Key Features:
- Restores lost files or data from SD cards, USB drives, iPads/iPods, Macs and MP3/MP4 players
- Recover lost data from deleted partitions and volumes
- Recover lost data from Time Machine Backup
- Supports Mac OS 10.x and file systems like APFS, HFS+, HFS X, FAT (16/32), exFAT and NTFS
- Supports 200+ different files formats for recovery including audio, video, images, documents and more
- Supports multiple languages like English, Dutch, Italian, Portuguese, Chinese, Spanish, German, French, Italian and more
The free version has a data recovery limitation of upto 2GB while paid version can recover unlimited data.
Also, if there are startup problems, a bootable disk can be created. This is useful when using macOS Sierra/High Sierra. First create a bootable USB disk using any of the macOS 10.12 – mac OS X 10.8 and then launch the recovery wizard.
Using EaseUS Data Recovery Wizard for Mac involves three steps :
- Launch
- Scan
- Recover
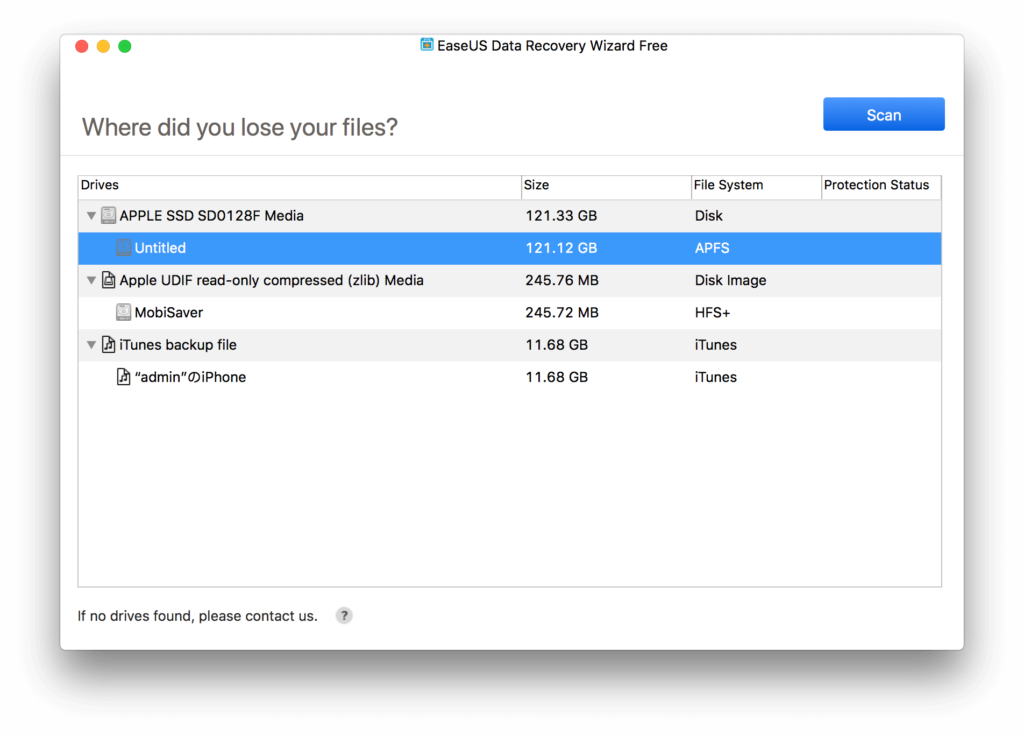
Launch : This involves launching the main interface and choosing the source partition/drive or storage device from where lost data needs to be recovered. Choose Scan to begin after selecting.
For scanning, there are two main types : Quick Scan and Deep Scan. As the names suggest, Quick Scan will be a lot quicker but less comprehensive while Deep Scan will be longer and more detailed. These scans can be used as per recovery requirements. If a lot of data needs to be recovered, Deep Scan will be a better choice.
Also, these scan results can be exported and saved for future uses thereby saving time during the next recovery.
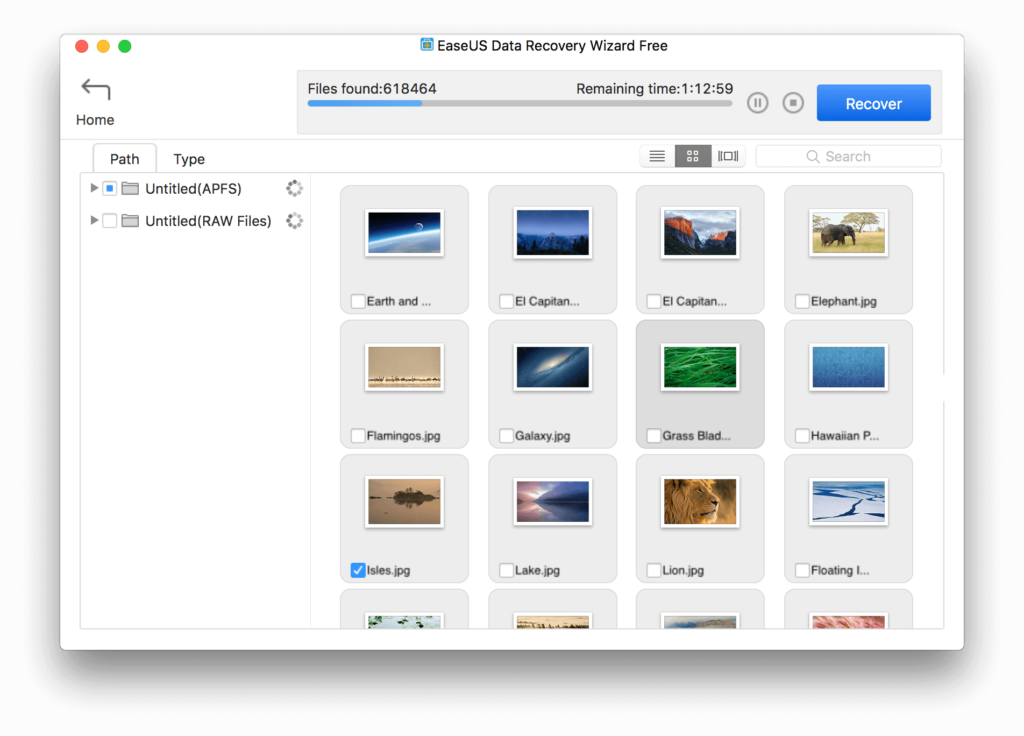
Scan : Once the scan is complete, the data that can be recovered will be listed. This data can also be previewed as thumbnails which is useful when it’s a lot of media files. Click Recover to start the recovery process.
Recover: Once the data to be recovered is finalised, select the required files and click Recover Now.
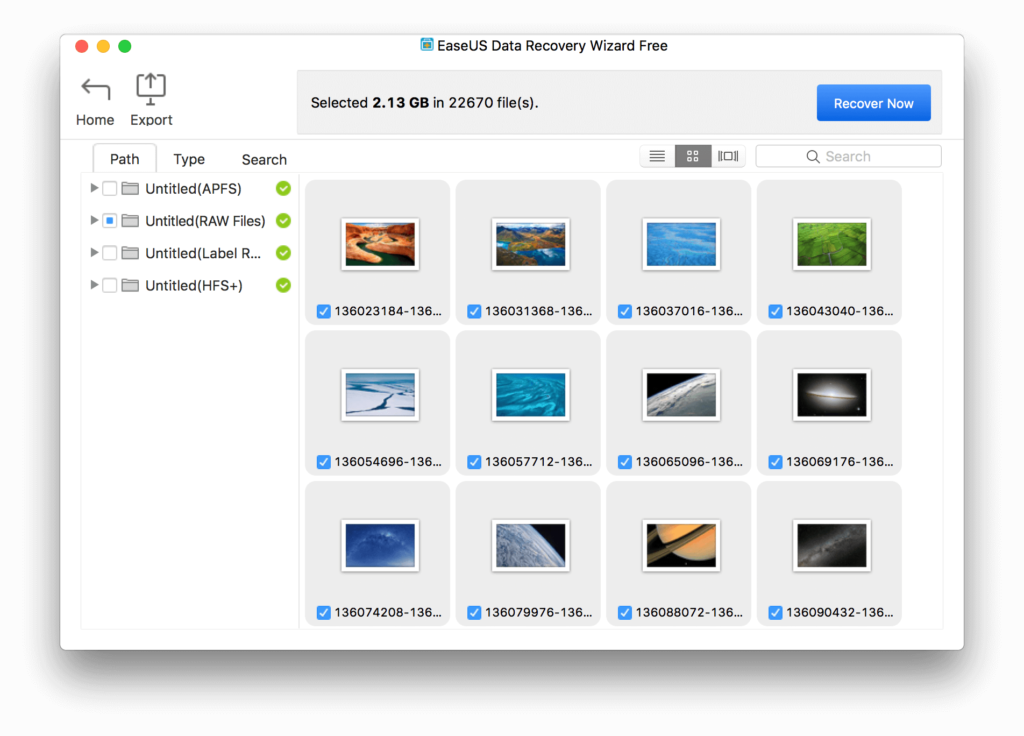
The recovered data will now be available and ready to use.
All done.