Windows come with a built-in feature that automatically calibrates color and chooses the best display scheme depending on the monitor.
Here is how to calibrate color settings in Windows :
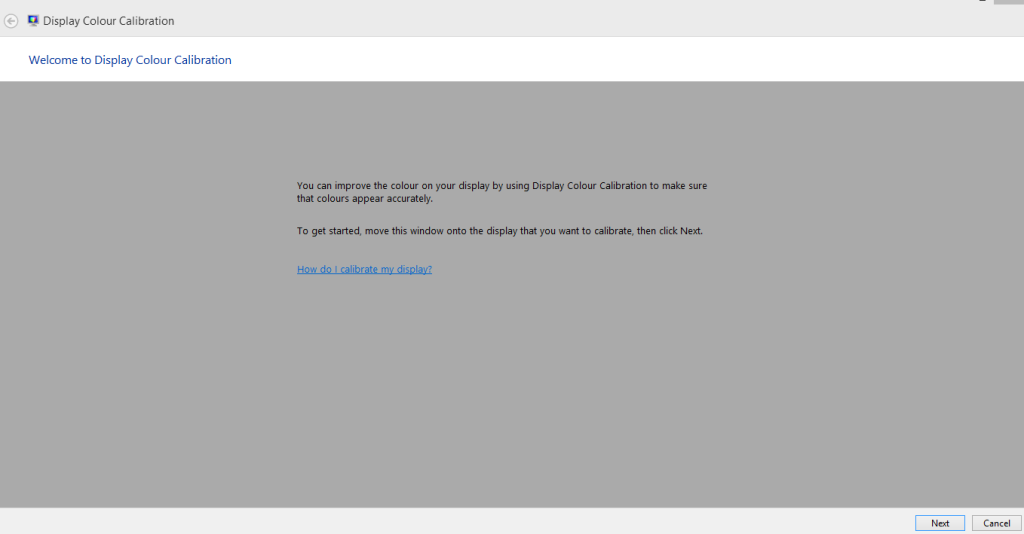
Go to Control Panel > Display and choose “Calibrate color”.

This will launch a color calibration wizard, follow the steps as below :
At this point, use the menu option for the monitor and adjust the position of screen or use the default factory settings. Look up the monitor manual to perform these steps if not known.

Now, change the Gamma values so that the “Good Gamma” as shown below is what closely matches in the next step.

Adjust Gamma preferences as needed, for best results refer to the “Good gamma” image for reference in previous step.

Moving on to brightness and contrast adjustments, either use the monitor menu for selecting these options or skip them if not needed.

Use the “Good brightness” sample image below and hit “Next”.

Adjust brightness settings so that the “X” in background is barely visible and that the settings closely match the “Good brightness” image in previous step.

For contrast settings, use the “Good contrast” image as reference and hit “Next”.

Match the contrast settings so as to closely match the “Good contrast” image from previous step and hit Next.

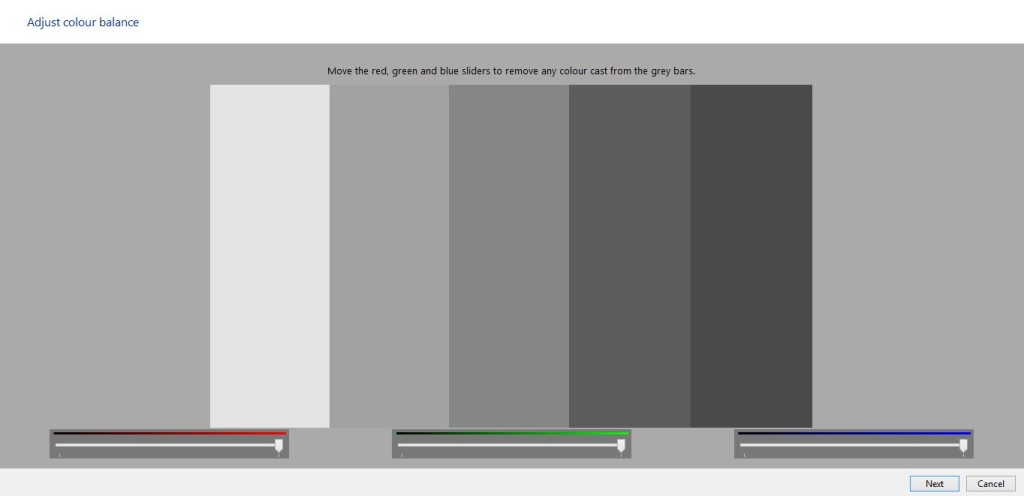
To adjust color balance, use the neutral gray color which is shown with the arrow mark. Hit “Next”.

Adjust the grey to neutral grey color settings from previous step. Hit “Next” when done.
Finally, once all these settings have been calibrated, to use them click on “Current calibration”.

All done.
Happy calibrating.