The popular XAMPP package which contains built-in services for running a web server (Apache, MySQL, PHP) can be great for testing on local systems before actually doing anything on live websites.
An earlier post explained how to get XAMPP running on Linux Mint/Ubuntu.
Here is how to install it on Windows :
1. Download the XAMPP setup from here.
2. Run the setup and make sure to install in drive root (“C:\xampp”) instead of say “C:\Program Files”.
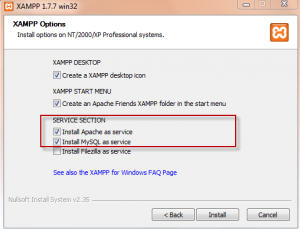
3. Follow the on-screen instructions, on Options screen, select “Install Apache as service” and “Install MySQL as service”. Other services can also be installed but these two are the essential ones.
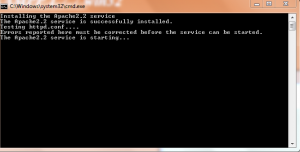
4. Let the services be automatically configured and wait for the installation to complete.
5. Once installed, the XAMPP control panel will open and display which services are running. Make sure that Apache and MySQL are running for the web server to be functional.
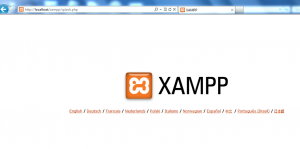
6. To test if the web server is up, open any browser and type :
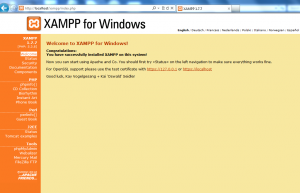
7. This should display the XAMPP screen, select the language of your choice and check out the various options available.
Enjoy your own web server on Windows. 🙂

