Here are a couple of ways to directly take screenshot of specific areas when using Windows 10 :
1.Using keyboard shortcuts :
This shortcut is available since Windows 10 Creators Update. First, choose the area for screenshot by pressing Windows key + Shift + S.
The mouse pointer will change to a crosshair and now a screenshot of selected region can be taken. This is copied to clipboard.
To access this screenshot, open Paint 3D and paste it. It can now be saved after further editing if needed.

The other default screenshot keys are the same as before :
- Prtscr – Screenshot of entire screen
- Alt + Prtscr – Screenshot of the active window
2.Using Snipping Tool : This was also present in earlier versions of Windows. To access it, search from the Start menu.
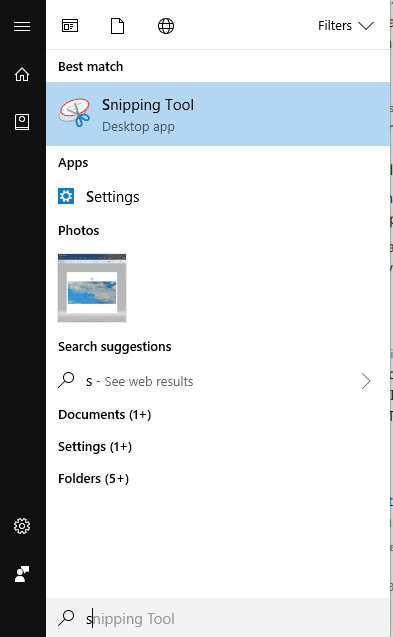
Or type snippingtool in Run box (Windows key + R).

Choose Mode > Rectangular Snip to take a screenshot of selected area. A delay too can be set (maximum of 5 seconds) from the Delay menu.

Also, if looking for an external screenshot utility, Greenshot can be useful.
All done.