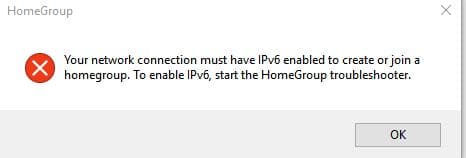
When trying to create a homegroup in Windows 10, one common error that is encountered is about enabling IPv6 for the network connection.
To fix this, a couple of Windows services need to be enabled along with a registry change.
Here is how:
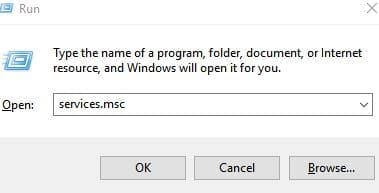
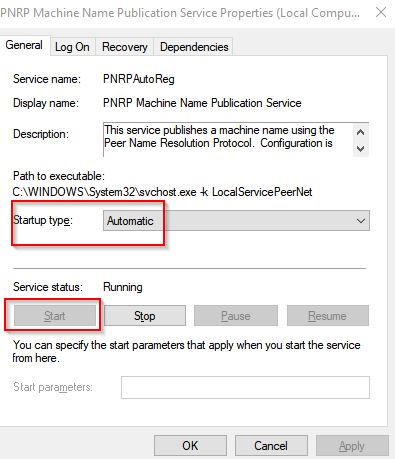
First, open Run box (Windows key + r) and type services.msc :
Drill down so that two services: Peer Networking Grouping and PNRP Machine Name Publication Service are visible.
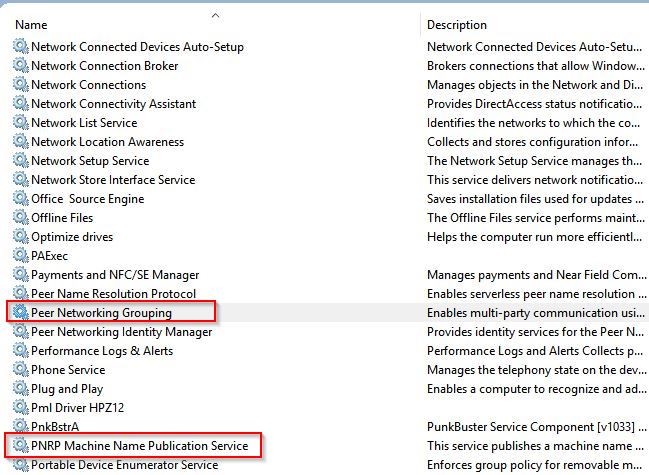
These two services need to be enabled for sharing files/folders among different PCs on the home network.
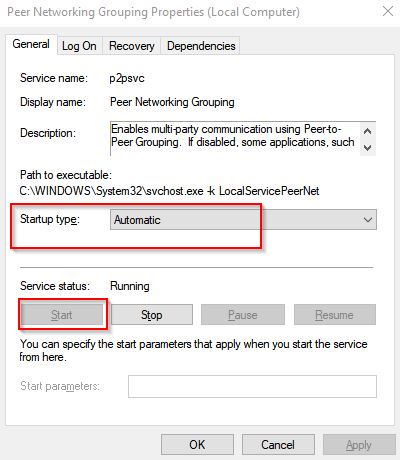
Double click on each of them and set them to start automatically.
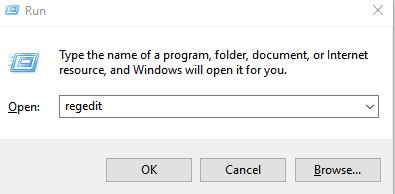
Next, to enable IPv6 changes for homegroup, registry needs to be edited. To do that, once again access Run box and type regedit.
(It’s a good idea to first backup the registry before making any changes. This can be done by File > Export and then saving the registry file to a new location).
Now, drill down to HKEY_LOCAL_MACHINE\SYSTEM\CurrentControlSet\services\TCPIP6\Parameters. Here, double click on DisabledComponents and set its value to 0 in Value data box
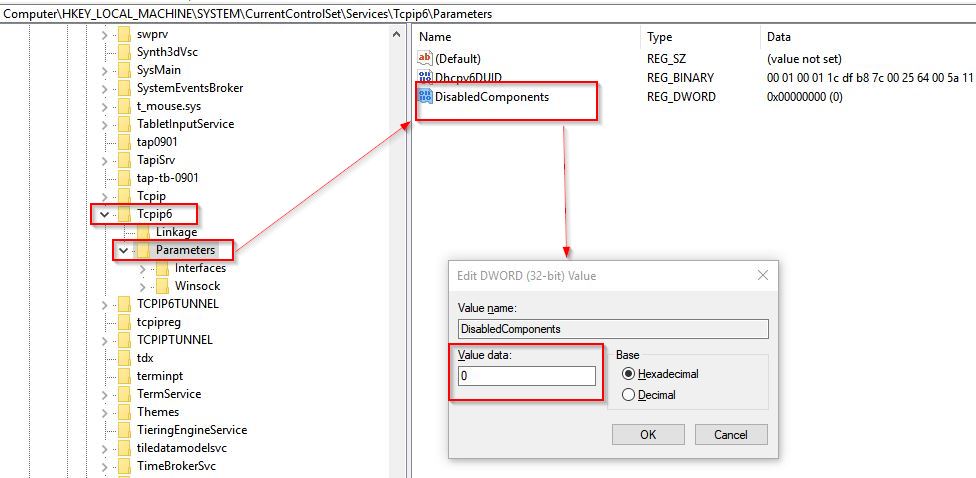
(If the DisabledComponents is not present, create it from Edit > New > DWord Value.)
Once the changes are done, a system restart will be needed.
After restarting, homegroup wizard will now proceed without the previous error.
Happy sharing.