OpenDNS provides free and secure public DNS for better web surfing experience. An earlier article described how to configure Windows/Linux systems to use OpenDNS.
Besides this, it also provides free web filtering features for home users that can be used to block inappropriate websites, specific domains or entire categories of websites.
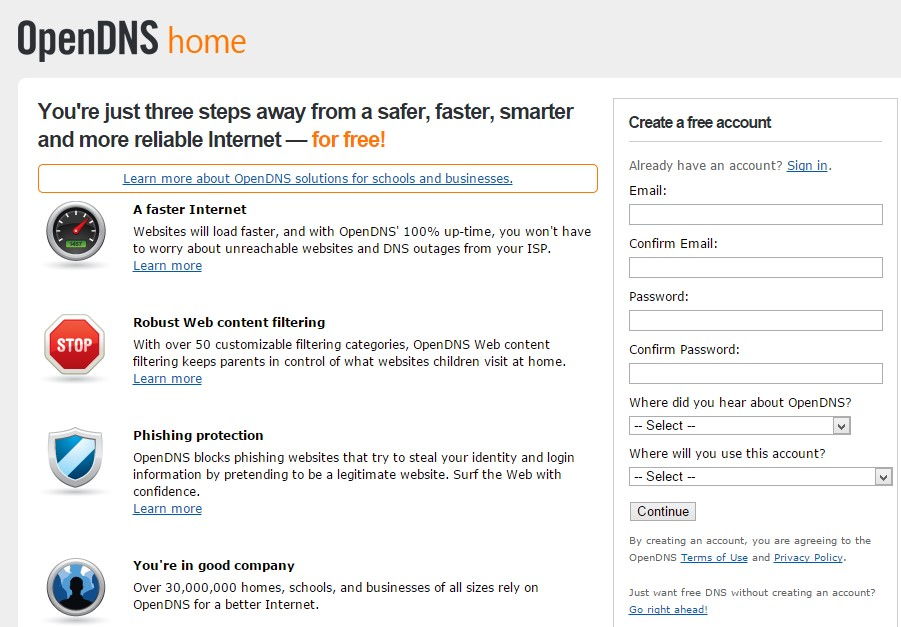
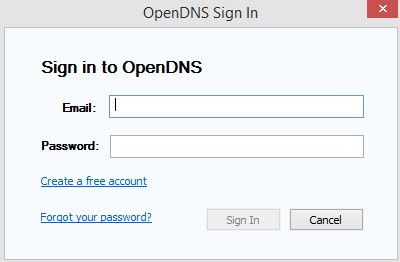
To use this filtering feature, first create a free account here.
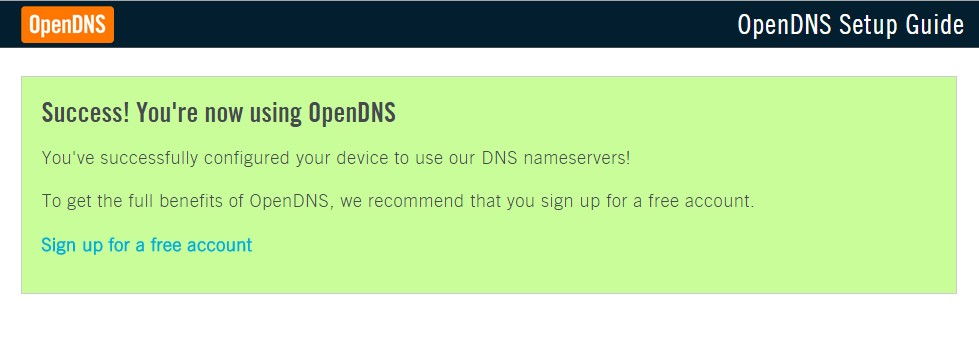
Once the account is created, first setup OpenDNS by changing existing DNS server IPs to those of OpenDNS – 208.67.222.222 and 208.67.220.220 and verify if it is working as expected before enabling filtering. This can be done by testing the settings here.
If DNS requests are served through OpenDNS, a page similar to below should be displayed :
 Now to set up filtering, first a network needs to be added. This can be done by logging into OpenDNS dashboard using the newly created account and going to “Settings”. (OpenDNS will auto fill the network IP fields using the public IP detected).
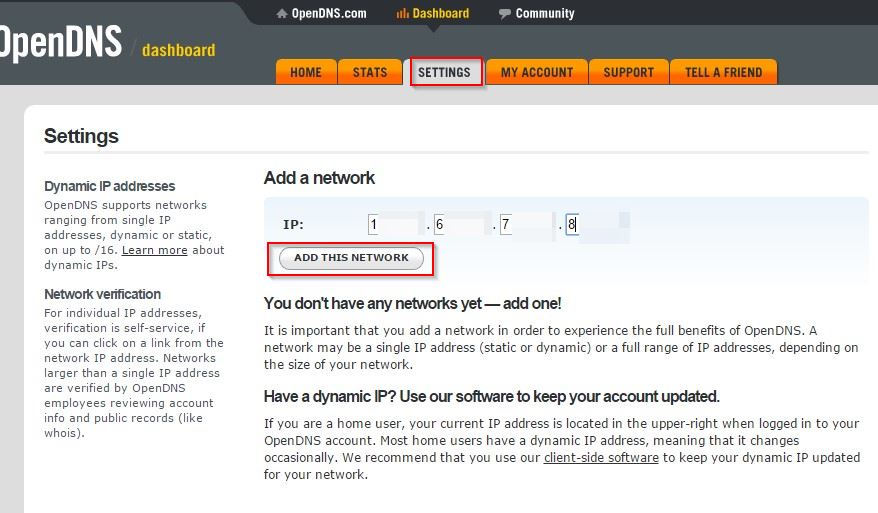
Click on “Add this network”. Then, name this network as needed.
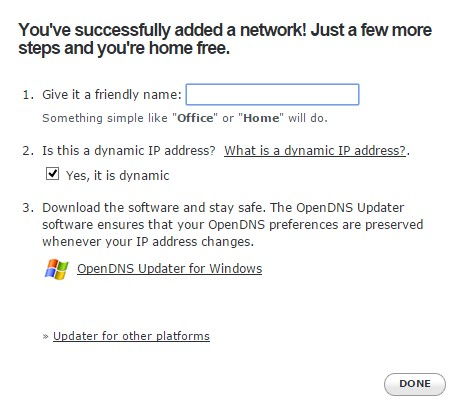
Now for ISPs which assign dynamic IP addresses (IPs that change at regular interval), this can invalidate the filter settings as the same network range may not be present every time.
For this, OpenDNS provides an auto updater client that will detect the changed IP address automatically so that the same is updated as the added network.
This tool is available for download for all platforms – Windows, Linux and Mac. Download it from here.
The auto updater requires the same account login as that of OpenDNS dashboard and then it silently runs in the local system background looking for IP changes.
Now to the actual part of blocking websites. :).
From the “Settings” tab, choose the required network from drop-down menu. This will show the filtering options as below.
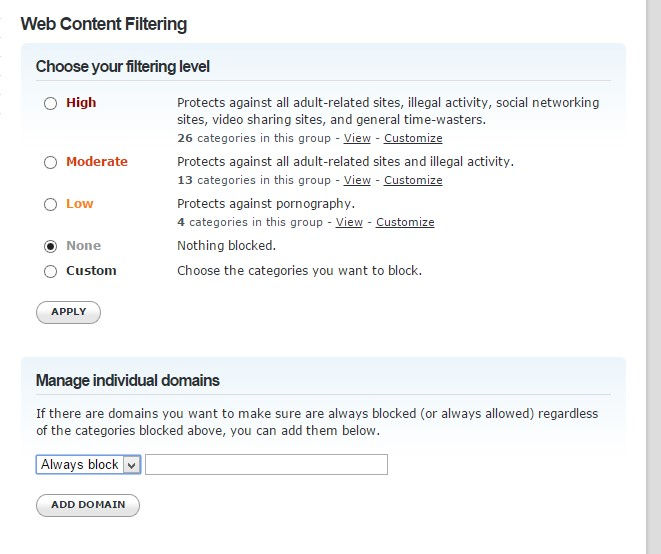
Different levels of web filtering can be selected from above as preferred. The “Custom” option allows to block entire category of websites while the “Manage individual domain” provides an option of individually adding specific websites for blocking.
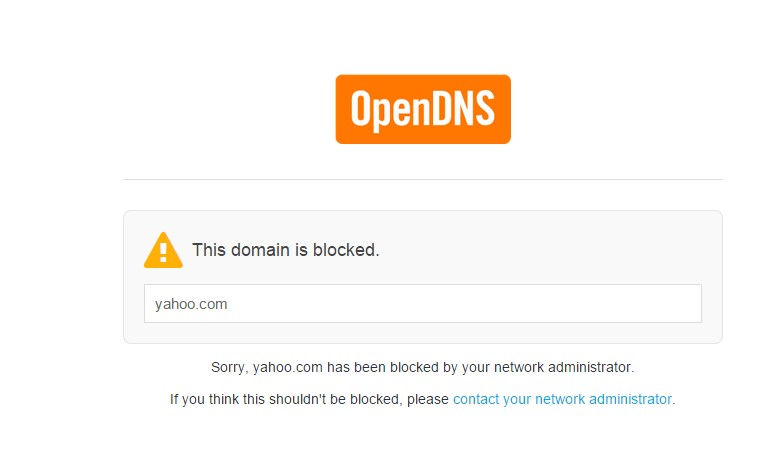
Once the settings are changed, it takes 3 minutes for the filtering to take effect.
To test if these settings are active as desired, try accessing a website that is part of the filter. It should display an error message like below in the browser.
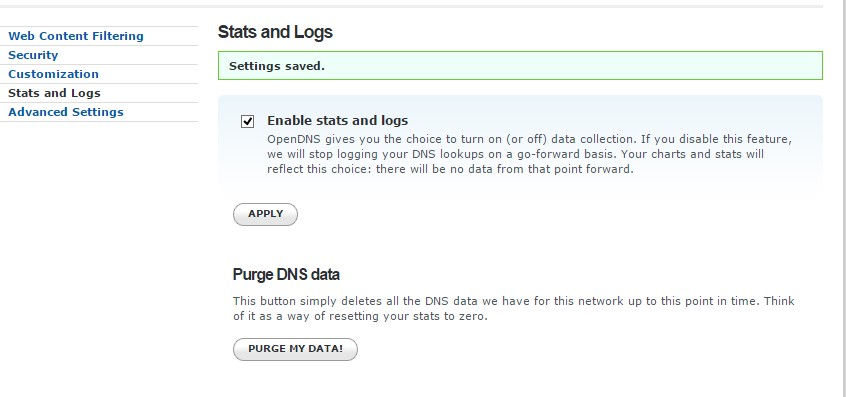
 Also, various statistics and logs can be enabled for viewing for the added network. This needs to be enabled first by choosing “Settings” for the specific network from dashboard and then clicking on “Stats and logs”.
This is a simple and free way to set up web content filtering.
Happy and safe web surfing.