How To Make Shortcut For VMware Workstation 7 Virtual Machine In Windows 7
Here’s how to make a shortcut for VMware Workstation 7 virtual machine in Windows 7:
1. Right click on your desktop and select ‘New>Shortcut’.

2. In the location field, type the following –
“<Path to vmware.exe file>” -X “<Path to the virtual machine’s .vmx file>”
In our case, the path to vmware.exe was ‘C:\Program Files\VMware\VMware Workstation\vmware.exe’ and the virtual machine which we wanted to boot directly was located in ‘C:\LM9’ folder. The name of the virtual machine’s .vmx file was ‘LM9.vmx’. Hence, we typed the following in the location field –
“C:\Program Files\VMware\VMware Workstation\vmware.exe” -X “C:\LM9\LM9.vmx”


Click ‘Next’ when done.
3. Type a name for the shortcut and click ‘Finish’.

4. That’s it! Double click the newly created shortcut on your desktop to directly boot your virtual machine.


You can make any number of shortcuts for various VMware Workstation 7 virtual machines on Windows 7 desktop.

How To Use Cloud Clipboard In Windows 10
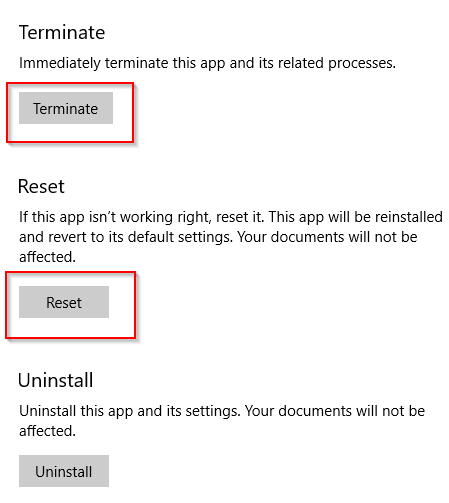
How To Reset Apps In Windows 10

You can also launch multiple virtual machines from the one shortcut.
Just add the path to the additional machines to the end of the shortcut, followed by a space. eg
“C:\Program Files\VMware\VMware Workstation\vmware.exe†-X “C:\LM9\LM9.vmx†“C:\Folder\VM2 Config File.vmx” “C:\Folder\VM3 Config File.vmx”
I found that a shortcut to the VMX file is enough. But I use VMWare player, not workstation.
Thanks for the tip. Without it I wouldn’t have tried to operate the VMX file in 1st place…
Very helpful! Thank you very much!