How To Change The Size Of Page File In Windows 7
A page file is simply a temporary area on hard disk which acts as a storage in addition to the RAM (physical memory) so that frequently accessed programs and Windows tasks run quickly. This whole arrangement is known as virtual memory and involves transfer of data from RAM to the page file thereby freeing up the RAM.
Windows 7 by default manages the size of page file automatically. However, the size of it can be changed as per preferences and also to optimize disk space usage (the default page file settings do take a lot of disk space).
To manually change the size of page file in Windows 7 :
1. Open Control Panel > System
2. Select Advanced System Settings.

3. Select Advanced tab and click on Settings in Performance field.
4. This opens up Performance Options settings page, there select Advanced and click on Settings under the Virtual Memory field.
5. Uncheck the Automatically manage paging file size for all drives and select the Custom size button for changing the size of page files for the listed drives.
6. Change the minimum and maximum limits for page file size as desired for the particular drive.
7. Restart Windows 7 once settings are changed.
All done.
By the way, it is best not to disable or keep the page file size too low as it can cause what is called as “page thrashing”. This means that Windows will try to access virtual memory / page file but will not be able to process requests quickly since the capacity set for the page file is too low.
How To Manage Windows Apps From The Command Line
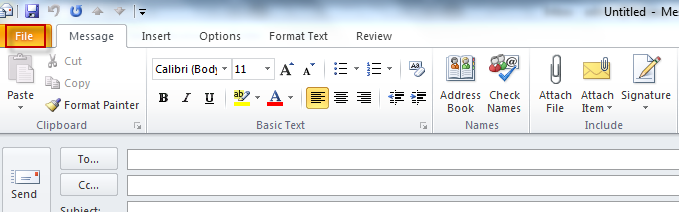
How To Optimize Image Attachments Before Sending Using Outlook 2010
Good info.